How to Put Two Videos Side By Side? Best Solutions and Steps Here!
Video creators or analysts may need to put videos side by side for different reasons. One reason might be to compare both videos' quality to determine which is better; another reason could be to look out for similarities and differences. Internet videos can be protected by copyright. You may need to put two videos side by side to confirm if your video copyright has been infringed upon. You may also want to put videos side by side during presentations so you can point out important observations.
Part 1: How to Put Two Videos Side by Side iMovie
iMovie is Apple's official media player. It is available on Mac and iPhone devices. iMovie also comes with many video editing features that you can use. One of these features helps users put videos side by side.
How to Use iMovie to Put videos Side by Side on Mac
Putting videos side by side is also known as creating a split-screen. Use the following steps to create a split-screen on Mac using iMovie.
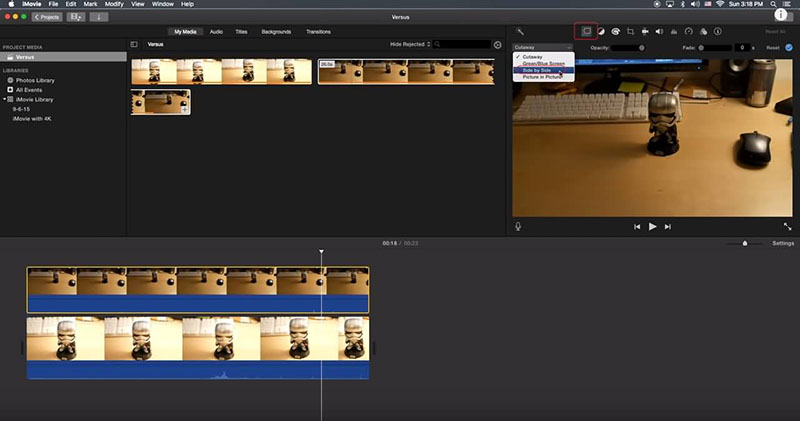
- Open iMovie on your Mac. Drag the videos and drop it onto the timeline.
Go to the top left corner to see Overlay settings. Choose the Side by Side option.

- Use the crop tool to zoom in and out on either side of the split-screen videos.
How to Use iMovie to Put Videos Side By Side On Mac (for iMovie Versions Earlier than Version 10)
- Open iMovie on your Mac. Drag the video clips and drop it onto the timeline. And ensure that the video is standing on top of the other.
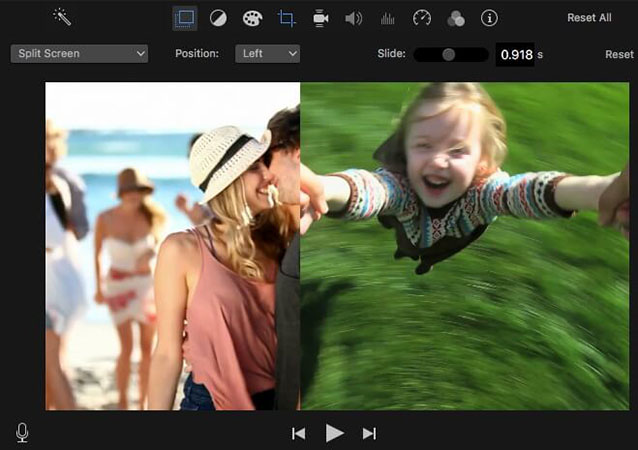
Go to the top left corner to see Overlay settings. From the drop-down menu, click the Split Screen option.

- You should see both clips playing side by side on the Viewer window. Now, use the crop tool to zoom in and out or choose exact locations to play the split-screen videos. With iMovie, you can add transitions and also adjust the duration.
Part 2: How to Post Two Videos Side By Side on Facebook
Facebook allows users to post multiple videos on their timeline and Creator Studio. Follow the steps below to add videos side by side on Facebook.
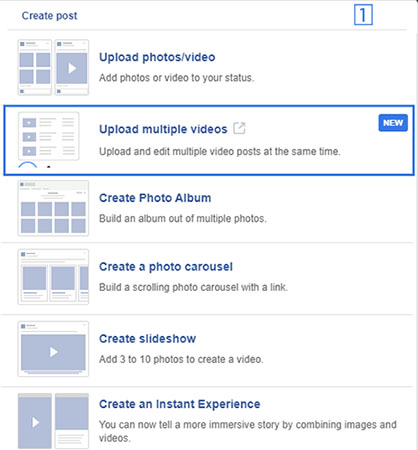
- Click Upload Videos on the Home Tab.
Choose Upload multiple videos.

- Select the video clips you want to add. A pop-up box will inform you of the progress of the upload. After the upload is complete, you can edit the videos before publishing or sharing them on your page or timeline.
- Choose the page or your timeline to upload the videos.
Part 3: How to Put Two Videos Side by Side on iPhone
iMovie also works on Apple iPads and iPhones. Hence, you can put two videos side by side using iMovie on your both Apple devices.
Launch the iMovie app from the iPhone or iPad. Then, select the 'Create Project' function.

- Add the two clips one at a time.
- Click ellipsis and select split mode function. You should see the videos playing side by side. You can also change the orientation of the videos.
Part 4: The Best 5 Split-Screen Video Editors
1. Adobe Premiere Pro
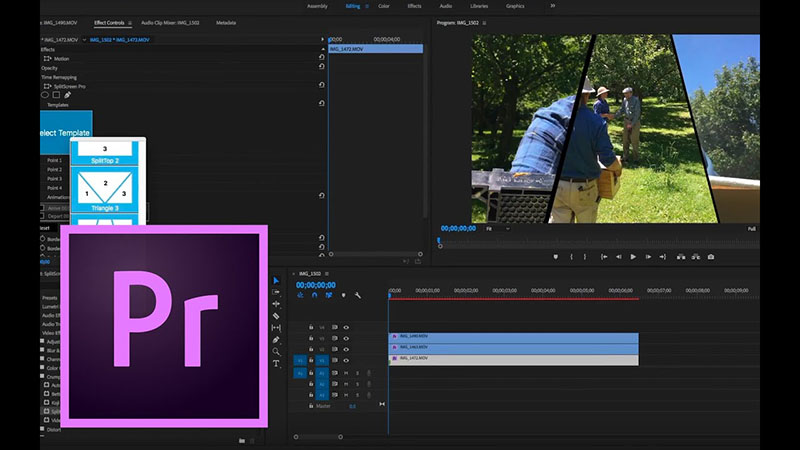
Adobe Premiere Pro is one of the best professional video editing tools you can find. Some Hollywood cinematographers use this software to edit most of their videos and get excellent results. You can use Adobe Premiere Pro to put two videos side by side if follow the steps below.
- Add both videos you want to work with at the same time on the timeline.
- Trim the clips until you get your desired specs.
- Turn off the top videos so you can work on the videos one after the other.
- Use the Zoom and Crop tools to get the video to meet your expectations.
Repeat the previous steps for each clip within the timeline.

Cons:
- High system requirements.
- Free use is limited to a 30-day trial period.
- Users need special training to use this tool.
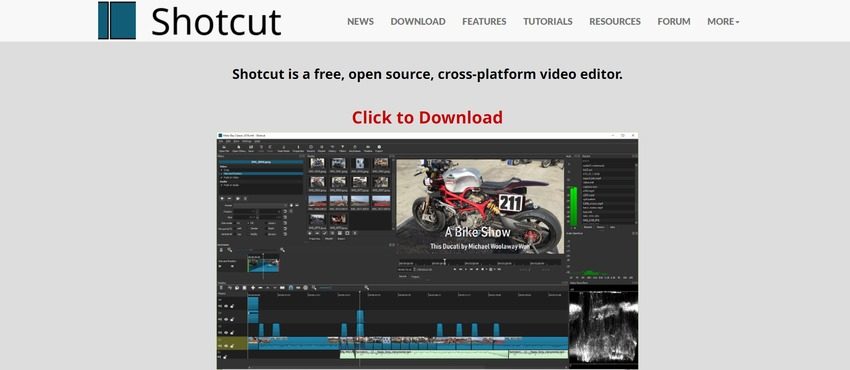
2. Shotcut
Shotcut is a free open-source video editing tool which supports Linux, Mac and Windows platform. Its array of video editing tools include a split-screen feature that allows users to play videos side by side. Follow the steps below to use the Shotcut split-screen feature.
- Open Shotcut, import the target videos to the media bin and upload one of them to the timeline.
- Click Ctrl + I to add another video or remove the previous one.
- Select the first video uploaded to the timeline. Crop the video and position it where desired.
Repeat the previous steps for the other video.

Cons:
- Initial projects may look poor, but this will improve with mastery of the software.
- Shotcut can allow more than two videos to play at a time. It can create a clumsy project.
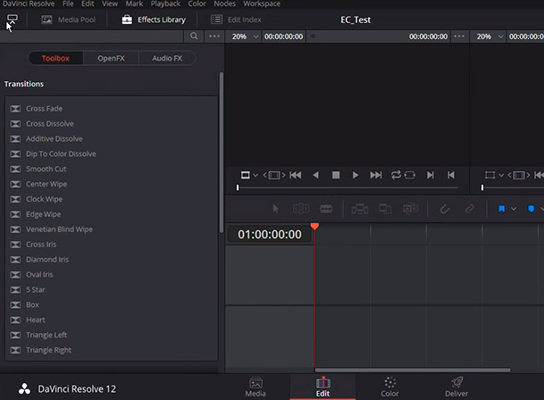
3. DaVinci Resolve
This is another popular post-production video editing tool. It comes in the free and paid version. Users pay a one-time subscription fee to continue to use the paid version of DaVinci Resolve's video editing tools.
- Drag the videos and drop it on the timeline under different tracks.
- Choose the split-screen feature.
- Use the crop and zoom picture to resize the video.
Find the preferred location for each video and fix them there.

Cons:
- The subscription fee for the paid version is relatively high.
- New users may find the interface confusing.
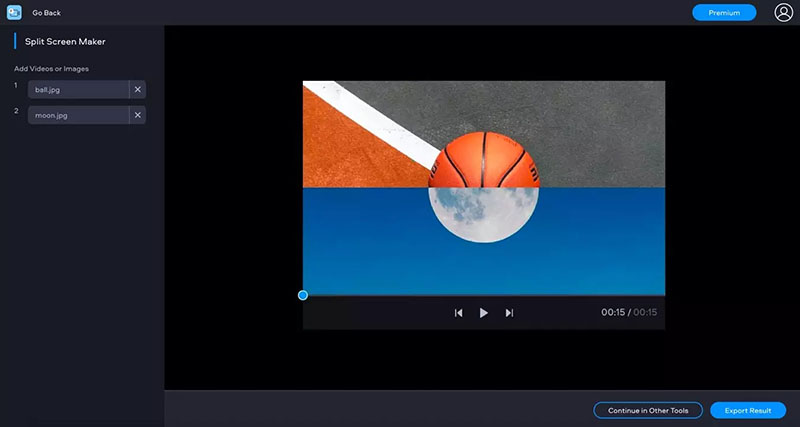
4. Fastreel
As its name implies, Fastreel is an online video editing platform that aims to help users quickly adjust raw videos to meet up with quality standards. Fastreel can cut, trim, rotate, merge, and split-screen videos. Use the steps below to create side by side videos on Fastreel.
- Visit Fastreel split-screen platform on https://fastreel.com/split-screen-video.html.
- Choose a template that matches the number of videos you want to add side by side.
- Click Upload Files to get your clips on the platform.
- Mute the audio track if you want to.
Click Export to see and save the split-screen videos in a single form.

Cons:
- Saved videos come with a watermark unless you pay for the weekly subscription.
- You need a strong internet connection.
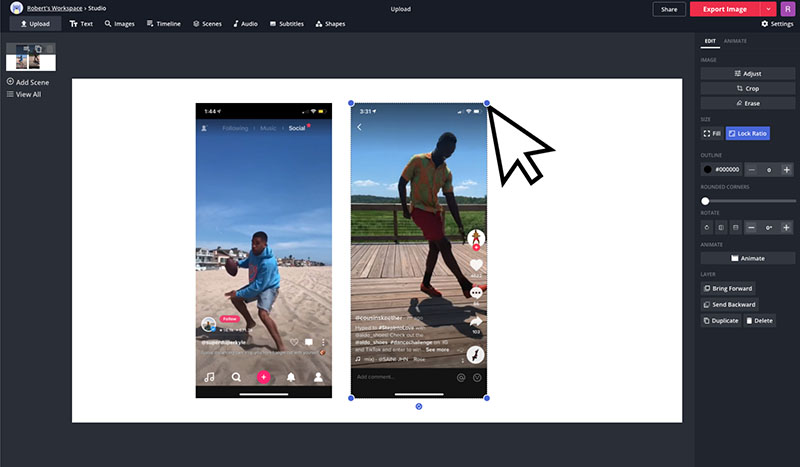
5. Kapwing
Kapwing is a fun online video editing tool. It is free to use and allows the conversion of media into multiple formats. Follow the steps below to create split-screen videos using Kapwing.
- Visit Kapwing online split-screen platform on https://www.kapwing.com/collage.
- Upload the videos you want to use.
- Click Replace on the empty segments to upload the clips (one for each). Continue until all the empty segments have clips uploaded on them.
- Use zoom and crop tools to adjust the clips to suit your preferences.
Click Done and Publish to view your clips as split-screen videos.

Cons:
- You must register and sign-in before using Kapwing to avoid having a watermark on your video.
- The upload process can be so slow.
Part 5: The Best Video Editor to Put Videos Side by Side
When it comes to the user-friendliness and full functions, HitPaw Edimakor stands apart. With its comprehensive video editing features, you can easily crop, resize, split, zoom the videos. So putting videos side by side can also be easily done in HitPaw Edimakor. Now, let's know more about it.
Features of HitPaw Edimakor:
- Allows you to trim, crop, split, zoom amd mirror the videos.
- This all-in-one video editor can edit videos, audio and images.
- Easily changes the speed or opacity of your videos.
- Adds texts, music, stickers, transitions and filters.
Steps to Put Videos Side by Side in HitPaw Edimakor:
Install the software from its official website or just click the button below.
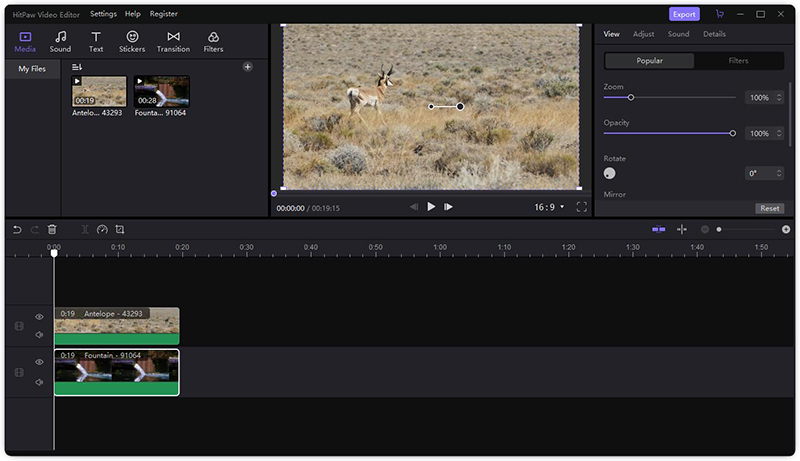
Open this app, click on the Drag & drop files here and drag them to different tracks.

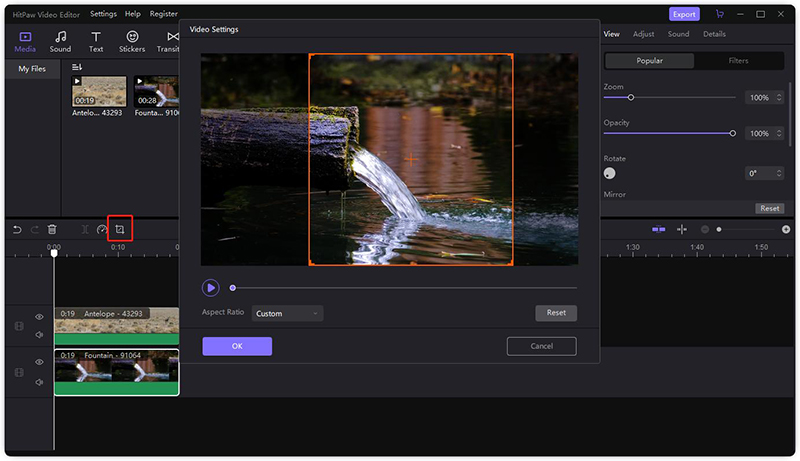
- Click on the Crop icon to customize the scale of the videos. Then click on the OK button.

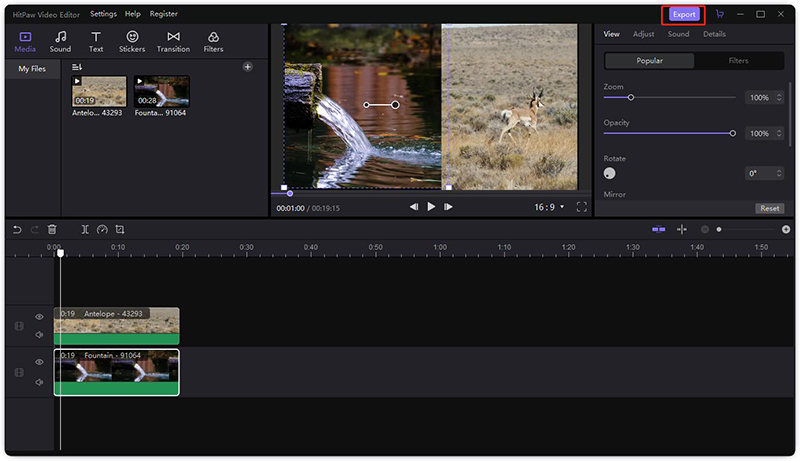
Adjust the position of the videos, and click the Play icon to preview the video. If you are happy with it, click on the Export button to save it.

Conclusion
Whatever your aim, putting two videos side by side is an interesting activity when you use the right tools. Consider using any of the free or paid versions of our recommended software to put two videos side by side. If you want an easy-to-use video editor with full functions, we highly recommend HitPaw Edimakor.





Join the discussion and share your voice here
Leave a Comment
Create your review for HitPaw articles