Catalog
For someone who wants to add a touch of magic to their visuals, our revolutionary "Remove Background from Image" tool is here to transform your creative process.
Follow the 6 easy steps below and begin to remove background from image and change the image background.
Step 1: Import Photo
Click Remove Background to add photos that you need to remove background with. Or you can simply drag the photo into the edit box.

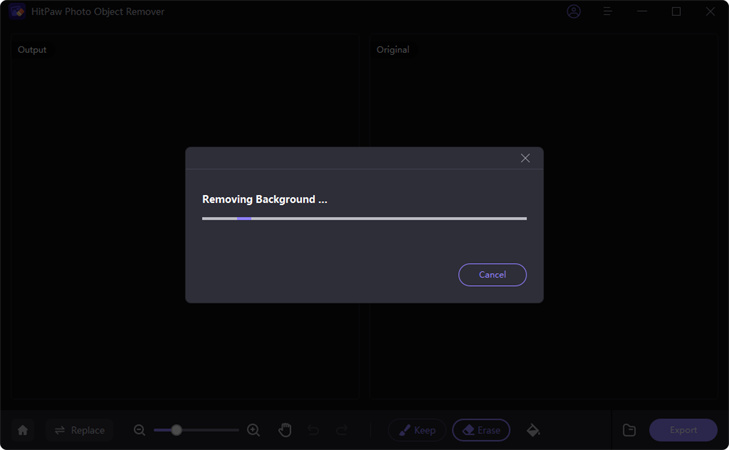
Step 2: Awaiting Automatic Recognition
When you import a photo, it will automatically recognize the background and remove it.

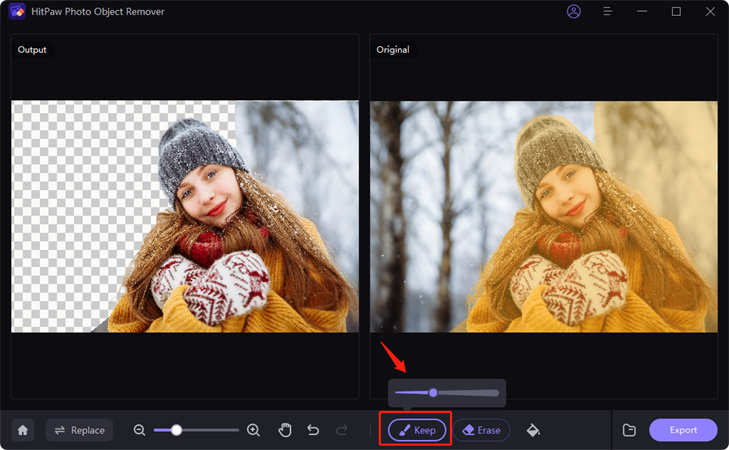
You will see Output on the left, which is the image with the photo background removed. On the right is the original image.

Step 3: Adjust the Reserved Areas
You can manipulate the original image with the Keep button to adjust the area you wish to keep.

What's more, you can also select the size of the brush by clicking the Keep button.

Step 4: Adjust the Erased Areas
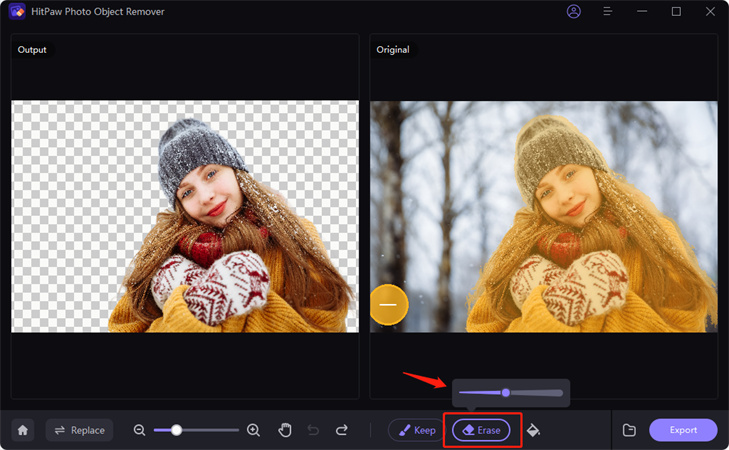
You can manipulate the original image with the Erase button to adjust the area you wish to remove.

Also, you can adjust the Brush Size by dragging the size bar.

Step 5: Change Background Color
After adjusting the background you wish to remove, you can select the background color to replace.

Step 6: Export the Photo
You can view the image directly in Output after replacing the background color. Then you can browse the path for saving, and click "Export" and save the final photo(s) to your computer.


