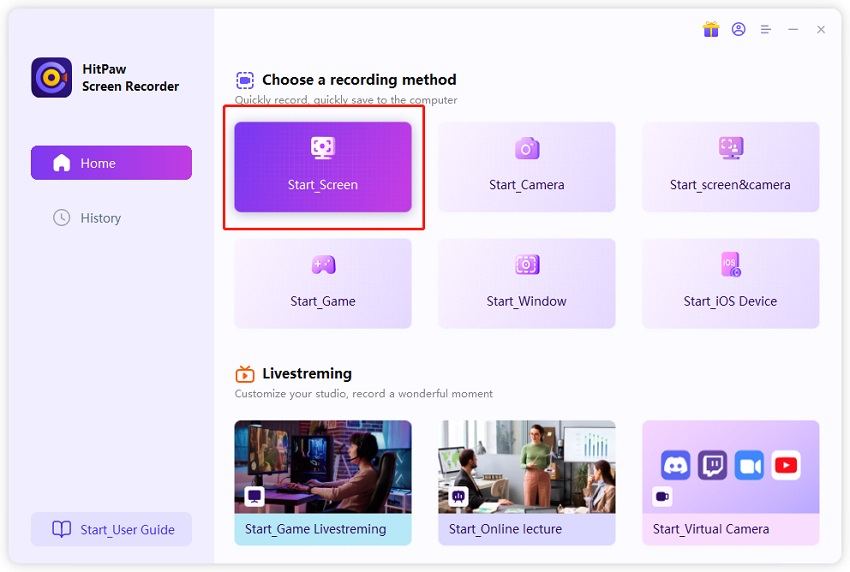
Step 01Download and launch the tool on your PC. On the main interface, click Screen option to record your screen.

If you are one of the users trying to know how to screenshot only one monitor then this is the right place. Using multiple monitors is quite mainstream these days for a number of reasons. Some users use it for gaming while others use it for expanding productivity, multi-tasking, and so on. In every case, users might face the need to take a screenshot of only one monitor. This article will help you know how to screenshot one monitor in a multiple monitor setup.
Let us come straight to the point. Even though there are many methods to screenshot monitor, the best method is to use HitPaw Screen Recorder. It is a third party screen recording and capturing tool and comes with tons of features. Some of the features that this tool offers when you need to screenshot one monitor are:
Follow the below steps to know how to only screenshot one monitor using this tool.
Step 01Download and launch the tool on your PC. On the main interface, click Screen option to record your screen.

Step 02Users can select full screen or select a desired area, as per their requirement, to capture the screen.
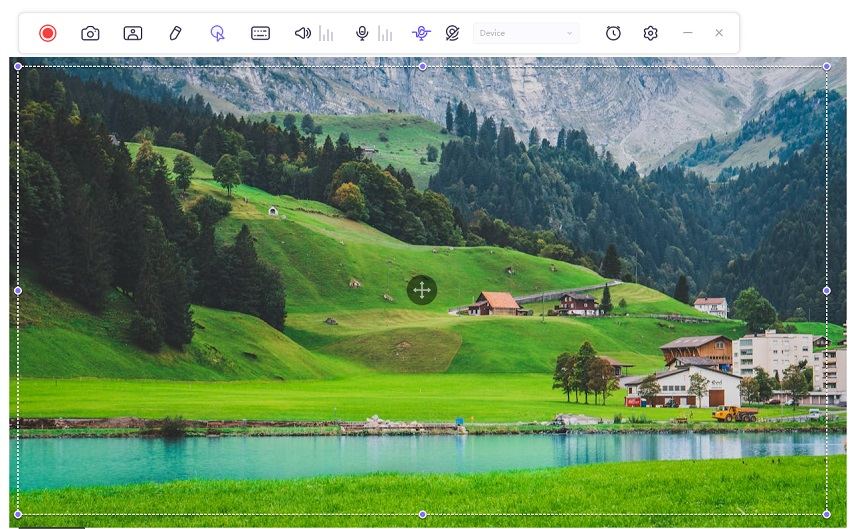
Step 03Click the camera icon to take a screenshot of the screen that you want to screenshot.

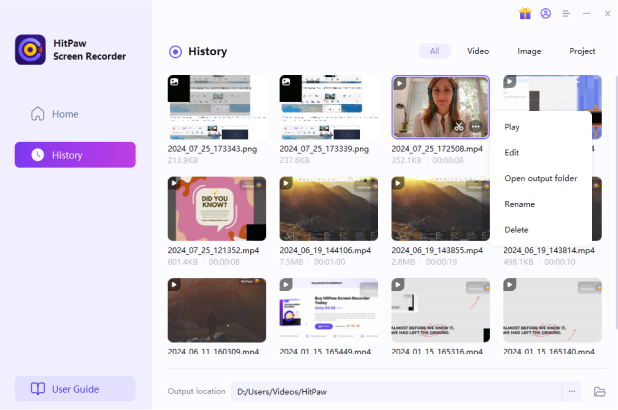
Step 04After that you can go to the home interface and click “History” to find your screenshots.
Below are some other methods that can be used to know how to take a screenshot of only one monitor. Have a look.
The Snipping Tool is the Windows 11 feature that provide screenshot capturing ability. It is the simplest method for snaping screenshots on your primary monitor in a dual-monitor setup. Follow the below steps to know how.
Launch the snipping tool on your device. At the upper left of the screen, click New or Ctrl + N. To start snipping your monitor screen, choose the rectangle tool option.
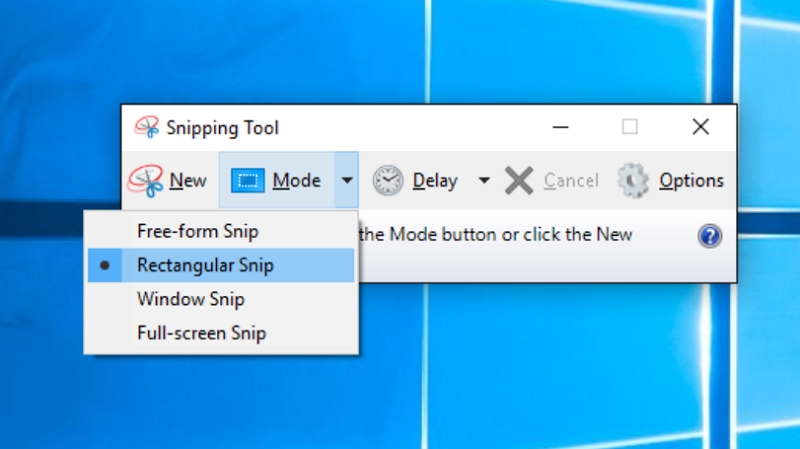
Drag the pointer over the screen to select the region of the screen you wish to capture a screenshot of.
The screenshot will be shown in the Snip & Sketch app. To save the screenshot to your device, click Ctrl + S or click on the floppy disk logo.
This method will not work for your secondary display until you change your primary screen in the settings for display.
The Snipping Tool has been enhanced in Windows 11 with the addition of the Snip & Sketch program. Snip & Sketch can help users to a screenshot of only one monitor with the Snip and sketch map. Follow the below steps to know more.
Begin by heading to the start menu. Now, search for the Snip & Sketch app.
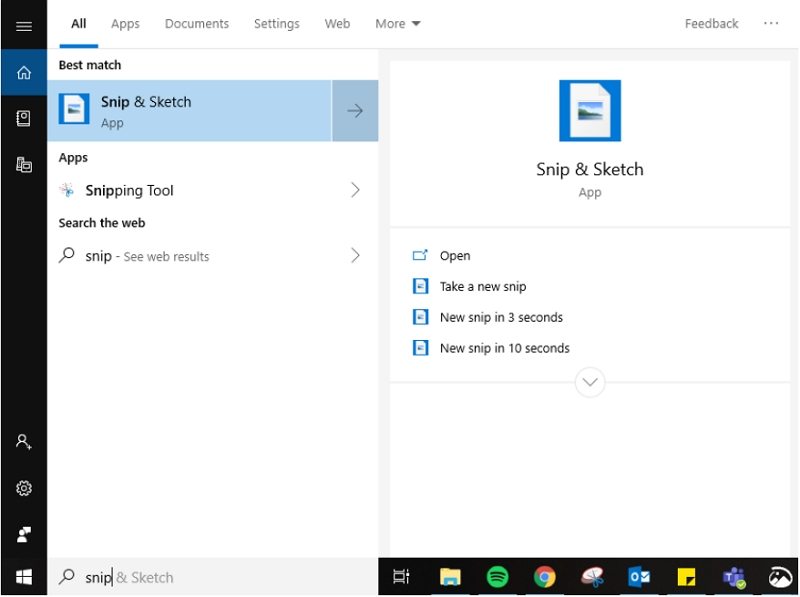
Head to the top left corner and tap the New option to snap a screenshot. Users can also use the Windows + shift + S key combination to snap a screenshot.
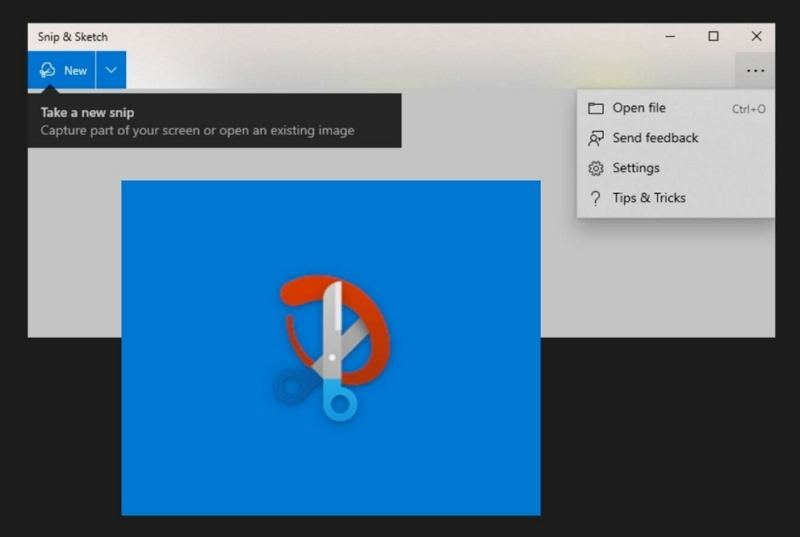
A toolbar is shown at the top of the UI. Choose the rectangular shape and use your mouse to select the target monitor for screenshots.
Tap the disc icon to save the screenshot. You can also use the Ctrl + S keyboard shortcut to save the screenshot.
This method will let users to take a screenshot of a picture on your secondary monitor, but users must first open the program on that display. Follow the below steps to know how to take a screenshot using the Print Screen key in a multi-monitor setup.
Place your cursor over the portion of the screen you wish to snap.
Use the Ctrl + Alt + Print Screen print screen shortcut to snap a screenshot.
To paste the pic, open Microsoft Paint and use Ctrl + V shortcut to paste.
To save the image press Ctrl + S, thereby saving the image to the file manager.
You can also take a screenshot of the secondary monitor by opening the program on the monitor to take the screenshot.
To take screenshots on any Mac, you'll need to memorize a few Mac screenshot shortcuts. You can press Cmd+Shift+4 then Space to select which monitor you want to screenshot from. Once hitting that keystroke combo, the cursor turns into a camera icon, and creates a light blue overlay on whichever screen you want to select. You just click on that screen and that's the screen grab you get.

In short, we just had a look at different methods that can be used to know how to only screenshot one monitor. Amongst them, the best option is to use HitPaw Screen Recorder which is the best tool to capture screen screenshots with more advanced features.


HitPaw Watermark Remover
One Click to Remove Video / Image Watermark.

HitPaw Video Converter
Ultra-Fast to convert and download video.

Join the discussion and share your voice here
Leave a Comment
Create your review for HitPaw articles