[Detailed Guide] How to Take Product Photos with iPhone Professionally
The iPhone is a popular smartphone that comes with a high-quality camera that can take stunning photos. Whether you're a professional photographer or just a casual user, taking photos on an iPhone is easy and convenient. With a few simple steps, you can capture moments and memories that you can cherish for a lifetime. In this article, we will explain “how to take product photos with iPhone” in a very easy way. So keep reading to learn how to take great product photos with iPhone.
1. [5 Tips] How to Take Product Photos with iPhone
To take photos on an iPhone, you'll need to use the built-in Camera app. This app comes pre-installed on all iPhone models and can be accessed from the home screen or lock screen. Once you have the Camera app open, you can use various features like flash, focus, zoom, and filters to take the perfect shot. Here are 5 tips on how to take good product photos with iPhone.
1.Use a room with good lighting
To start, locate a room in your home that has a well-lit window. The size of the window is crucial as it determines the amount of natural light that can illuminate your product and bring it to life. If you position your product closer to the window, you can create a softer light effect with deeper shadows. Conversely, placing the product further away from the window will result in lighter, more distinct shadows.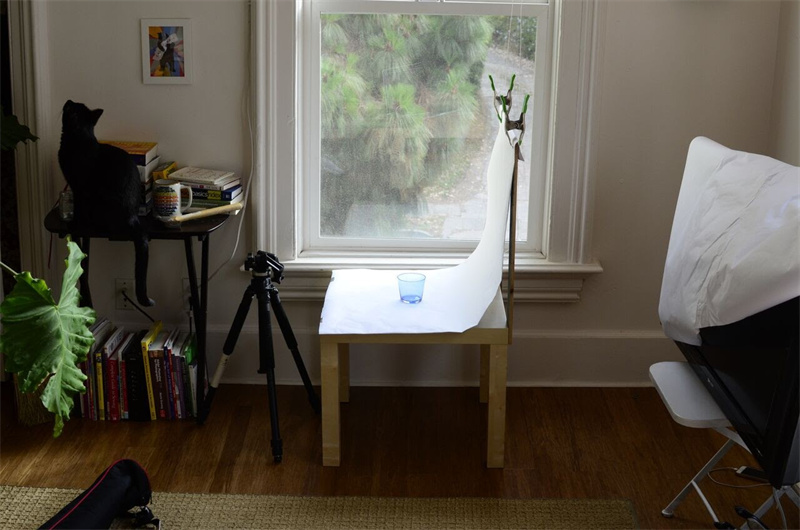
2.Get a mini tripod
From low-cost to high-end options, mini tripods are a smart investment that can provide significant returns for your photography needs. A mini tripod can help minimize camera shake and maintain consistent angles and styles for your product line. If you are looking for a basic mini tripod, the Manfrotto PIXI mini tripod kit is worth considering.3.Set up your backdrop
For a uniform and uncluttered appearance in your photographs and to avoid distractions, position a white backdrop behind your product. You can opt for a low-cost option like a white poster board from a nearby drugstore or art shop, or use a white paper sweep. You'll also need a table to position your backdrop.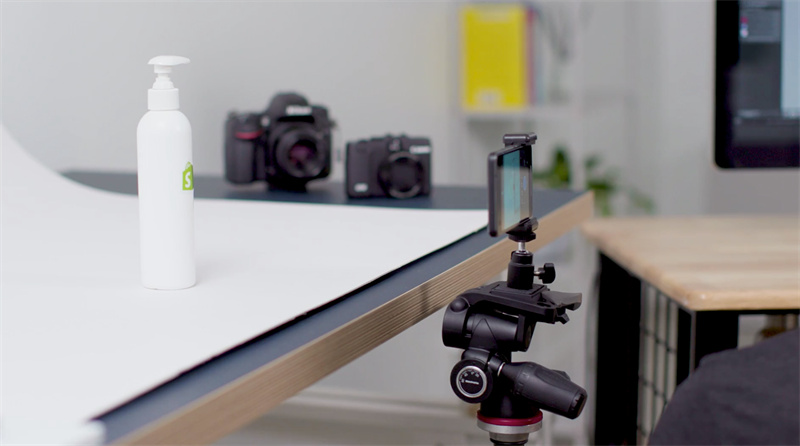
4.Use white bounce boards
When it comes to capturing product photos on your iPhone or Android device, managing the lighting is crucial. One effective method is to incorporate bounce boards, which reduce harsh shadows and provide a more evenly lit environment to showcase your product's intricate details. You can easily purchase a foam-made white bounce board on Amazon.
5.Set up a diffuser sheet if the sun is too bright
If you're dealing with overly intense lighting, diffuser sheets can come in handy by producing a softer, more balanced light. You can purchase diffuser sheets from Amazon or alternatively create one yourself using materials like frosted shower curtains, parchment paper, or printer paper.
2. Best Camera Angle to Consider for Your Product Photos
Product photography requires careful consideration of camera angles to highlight the key features of the product and evoke a desired response from potential customers. Here are some of the best camera angles for product photography. Here is how to take professional product photos with iPhone using the best camera angles. This could also be useful for how to take clothing product photos with iPhone.
Eye level: This angle captures the product from a straight-on perspective, as if you were looking directly at it.
High angle: This perspective involves capturing the product from above, as if you were looking down on it.
Low angle: In contrast to the high angle, the low angle involves capturing the product from below, as if you were looking up at it from the ground.
Bird's eye: This angle gives a view of the product as if you were looking straight down on it from above, as if you were a bird flying overhead.
Slanted: Finally, the slanted angle captures the product from an angle or diagonal view, which can add visual interest and highlight specific features or details.
3. HitPaw Photo Enhancer to Easily Make Your Product Photo Professional
Selecting the appropriate editing tools is a crucial aspect of becoming proficient in product photography using a smartphone. While some applications come with an in-built editor, there are various third-party apps available that provide a comprehensive suite of tools to enhance the visual appeal of your product images.
We have got an excellent option for you. With HitPaw Photo Enhancer, you can make your rough-looking pictures appealing and captivating. This AI-based tool has got different models assisting you in different scenarios possible. Within just one click you can actually upscale your photos.
- AI one-click enhance
- Support batch sharpening
- Customize your photo size
- Available for Windows and Mac
- Here are the simple steps of enhancing pictures using HitPaw Photo Enhancer
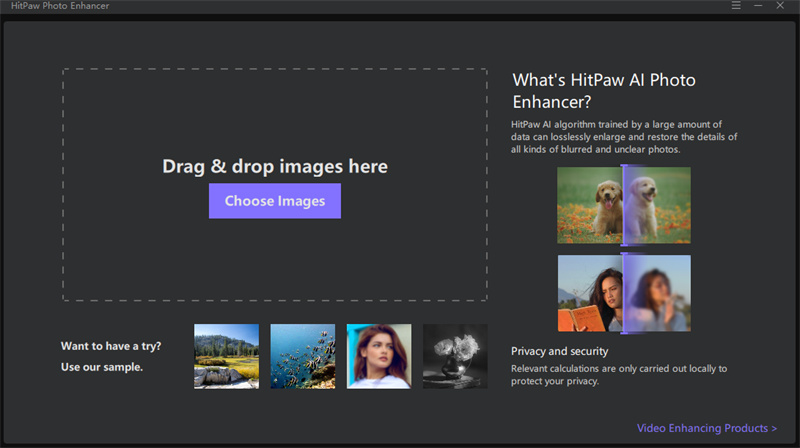
- Step 1: Download and install HitPaw Photo Enhancer on your computer
Step 2: Import the original photo that you want to enhance in any format including JPEG, PNG, JPG, and WEBP

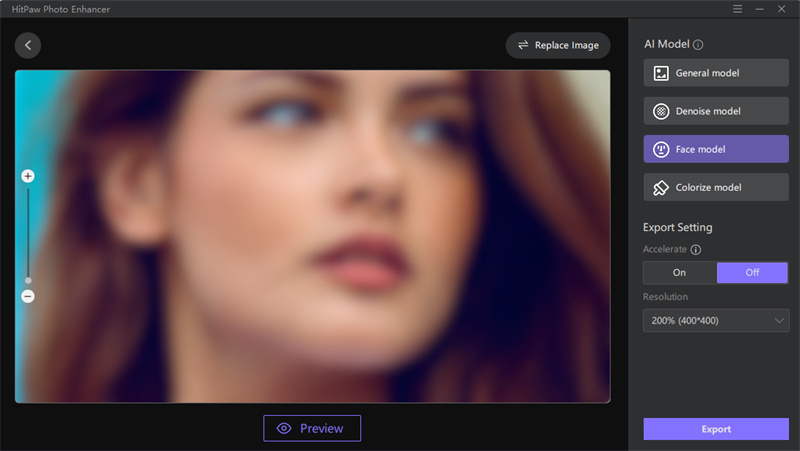
Step 3: Choose from the four AI models available including general modes, denoise model, face model, and colorize model

- Step 4: Once you are done selecting the model, wait for a few seconds. You can preview the effect before downloading the enhanced image
- Step 5: To export the photo you need to buy the full version of HitPaw Photo Enhancer and download your photo
Conclusion
In conclusion for how to take product photos with iPhone, taking high-quality product photos with a smartphone requires attention to lighting, camera angles, and editing techniques. Finally, selecting the right editing tools can further enhance the appeal of your product images, with many third-party options available in addition to in-app editors. HitPaw Photo Enhancer is worth trying if you are looking for a professionally looking photos.








Home > Photo Tips > [Detailed Guide] How to Take Product Photos with iPhone Professionally
Select the product rating:
Joshua Hill
Editor-in-Chief
I have been working as a freelancer for more than five years. It always impresses me when I find new things and the latest knowledge. I think life is boundless but I know no bounds.
View all ArticlesLeave a Comment
Create your review for HitPaw articles