How To Reduce Noise Adobe Premiere In 2023
Noise can be a major issue when working with footage, especially if it was shot in low light conditions. Thankfully, Adobe Premiere Pro has a variety of tools and techniques that can be used to reduce noise effectively and improve the overall quality of your video.
We will provide step-by-step instructions on how to use these tools and techniques, as well as tips on how to remove grain Premiere pro. Whether you are a beginner or an experienced video editor, this tutorial will help you to improve your skills and produce high-quality, noise-free videos.
Part 1. What is Video Noise?

Video noise is an unwanted visual artifact that appears as random speckles of color in a video image. It is often caused by low light conditions, high ISO settings on a camera, or poor-quality video compression.
Video noise reduction is the process of removing or reducing this noise from a video in order to improve its overall quality. There are a variety of techniques and tools that can be used for this purpose, including software-based noise reduction filters, noise reduction algorithms, and hardware-based noise reduction systems.
These methods can be applied to both pre-recorded video footage as well as live video streams. The goal of video noise reduction is to retain as much detail and sharpness as possible while removing as much noise as possible. Let’s take a look at how to video noise reduction Premiere pro.
Part 2. How do I Make a Video Less Grainy in Premiere Pro?
When it comes to video editing, noise can be a major obstacle to achieving the desired final product. Adobe Premiere Pro offers a variety of tools and techniques that can be used to reduce noise in video footage.
We will walk you through the process of using the Median effect and masks to effectively remove noise from your videos. Here is how to reduce grain in Premiere pro.
-
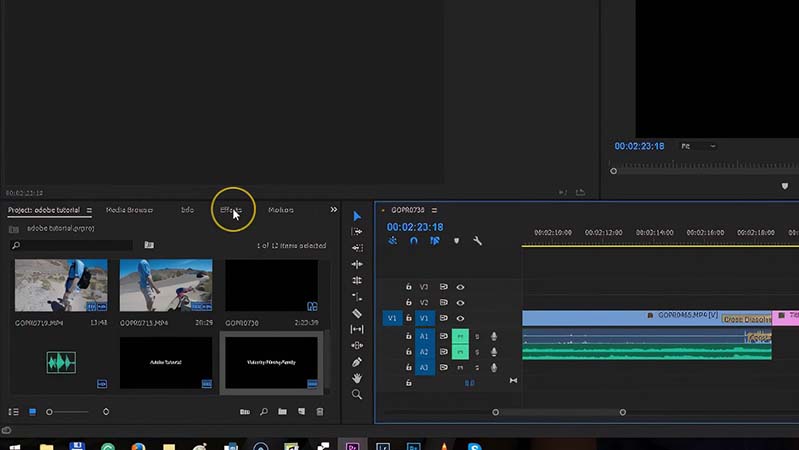
Step 1: The first step in reducing noise is to add the Median effect to your footage. To do this, simply import your footage into the Timeline and then search for the Median effect in the Effects panel. Drag and drop the effect onto your clip to apply it.

-
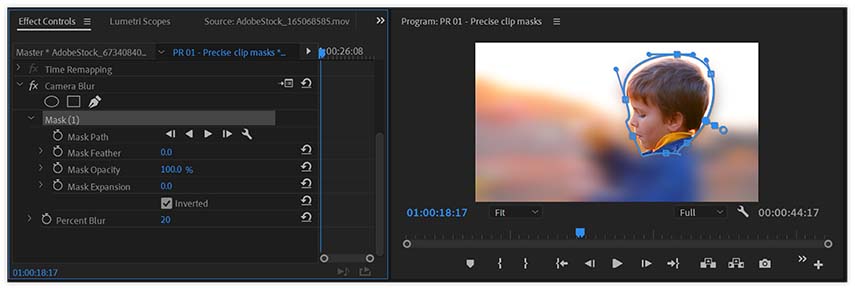
Step 2: To target the specific areas of the footage that contain noise, you'll need to use masks. In the Effects Control panel, select the appropriate mask shape for your clip and use the Pen tool to move and resize the mask to cover the noisy areas. Increase the Feather setting to +100 to make sure the effect blends seamlessly into the rest of the footage. Repeat this process as necessary until all the noisy areas have been masked out.

-
Step 3: With your masks in place, you can now adjust the Radius settings of the Median effect to reduce the noise. Experiment with different settings until you achieve the desired level of noise reduction.

Part 3. How do I Reduce Noise in Premiere with Noise reduction plugins?
The following are two noise reduction plugins that you can use with Premiere. Let’s take a look at each of these Premiere pro noise reduction plugins:
1. Neat Video
When it comes to denoising plugins for Premiere Pro, Neat Video is by far the most well-known option.
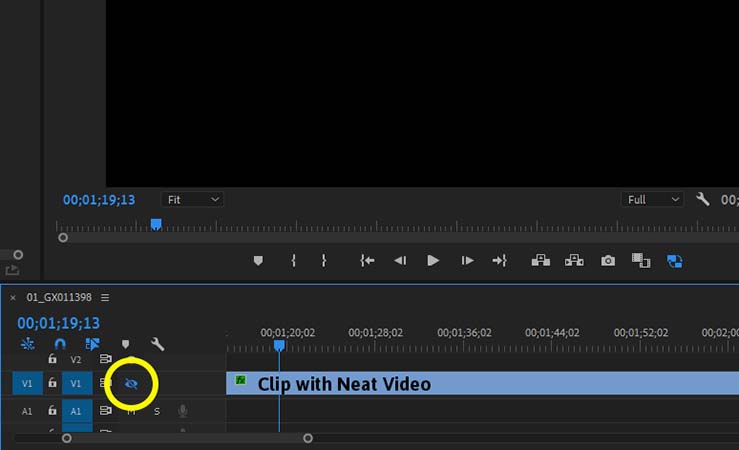
Many experts rely on its potency and speed in their daily work. It includes versions for both Windows and macOS, and it is compatible with other major video editings programs like Final Cut and Avid. Even Neat Video offers a paid "Premium" edition on top of its free "Basic" version.
The following are the features of Neat Video:
- Available for Windows and macOS
- Generates a noise profile
- Allows users to import their own footage to use as a noise profile or choose certain portions of the footage to utilize
- It can be found in the Video Effects panel in Premiere Pro
2. Red Giant Denoiser
There are a number of strong denoising plugins available, but Magic Bullet Denoiser III is PC and Mac OS compatible and among the most effective. You can try out the premium version for free, and the trial version is completely effective.
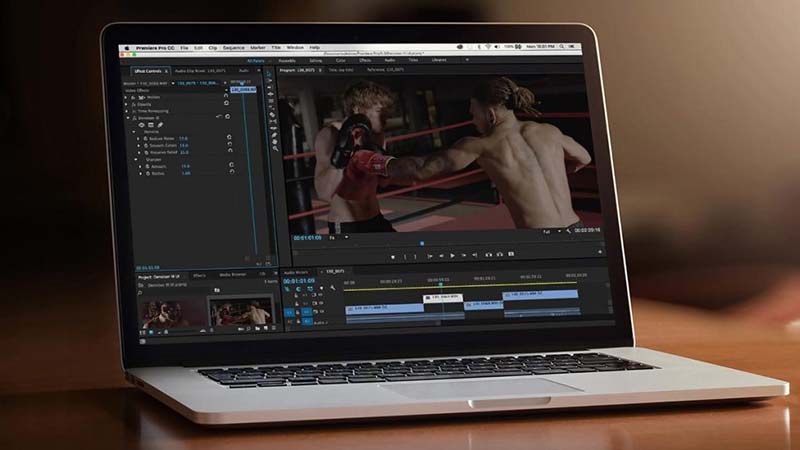
Its premium version, though, costs roughly twice as much as Neat Video's. The whole set of Magic Bullet plugins may be the most cost-effective option for serious users.
The following are the features of Red Giant Denoiser:
- Compatible with PC and Mac OS
- Offers a free trial version and a paid premium version
- The cost of premium version is roughly twice as much as Neat Video's
- It works by building a noise profile
- Has straightforward and easy-to-use controls with basic sliders for adjusting noise, color smoothing, and detail preservation
Part 4. FAQs of Reduce Noise Video in Premiere
1. What is the difference between denoise video and remove background noise?
Denoising a video refers to the process of removing or reducing unwanted visual noise from a video. This type of noise is often caused by low light conditions, high ISO settings on a camera, or poor-quality video compression.
Remove background noise from video Premiere pro refers to the process of eliminating or reducing unwanted audio noise from a video or audio recording. This type of noise can be caused by a variety of factors, such as background chatter, traffic, wind, etc. The goal of removing background noise is to improve the audio quality of the recording.
2. How to remove background noise?
There are several ways to remove background noise from a video or audio recording. One common method is to use noise reduction software, such as HitPaw Video Converter, which can be used to eliminate unwanted background noise from your videos and audio recordings. This software provides a background noise removal feature that utilizes advanced algorithms to analyze and remove background noise in a precise and efficient manner.
Part 5. Best-Alternative: Amazing AI Video Upscaler to Remove Denoise from Video
In addition to Adobe Premiere Pro, there are many other alternatives available on the market for removing noise from video footage. One such alternative is HitPaw Video Enhancer, which is a powerful AI-based tool that is specifically designed to remove noise and grain from low-resolution videos. HitPaw Video Enhancer has a user-friendly interface, which makes it easy for users of all skill levels to achieve the desired results. It also utilizes advanced AI technology to enhance the quality of the video, effectively removing noise and grain and improving the overall sharpness and clarity of the footage.
Additionally, HitPaw Video Enhancer provides a feature preview without a watermark, which allows users to preview the result of the enhancement without affecting the original video.

HitPaw Video Enhancer has powerful features such as:
- AI-based video enhancement technology
- Simple, clean and easy-to-use interface
- Mature AI technology
- Preview without watermark
- Grain, noise, and blur reduction
- Upscale low-resolution videos
- 100% safe to use with No Ads
Easy steps of using HitPaw Video Enhancer to remove noise from video Premiere pro:
-
Step 1. Head over to the official website to download and install HitPaw Video Enhancer on your computer.
-
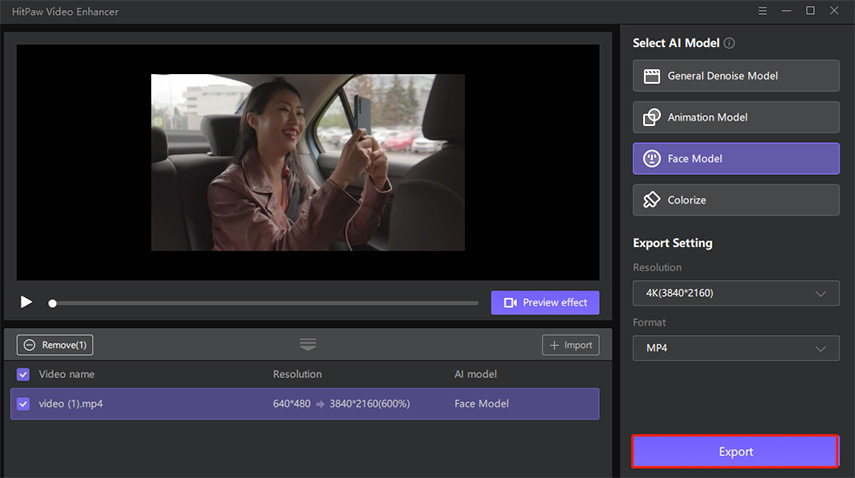
Step 2. Now that you have the software up and running, it's time to bring your footage to life. Import the video that you wish to enhance by clicking on the "Choose File" button or simply drag and drop the original video into the software. HitPaw Video Enhancer supports different input formats, including popular ones such as MP4 and MOV.

-
Step 3. HitPaw Video Enhancer offers 4 different AI models to choose from, each tailored to a specific purpose. Whether it's General Denoise Model, Face Model, Animation Model or Colorize Model, you're sure to find the perfect model for your video.

-
Step 4. Once you've uploaded your video and selected an AI model, it's time to preview the magic. Click on the "Preview" button and wait a few seconds for the software to process the video.

-
Step 5. If you're happy with the result, hit the "Export" button to save the enhanced video. Now it's time to share your newly polished footage with the world.

Part 6. Conclusion
Noise reduction is an important step in the video editing process. It helps to remove or reduce noise Adobe Premiere for the unwanted visual noise from a video, which can be caused by a variety of factors such as low light conditions, high ISO settings on a camera, or poor quality video compression.
When it comes to noise reduction, there are many options available on the market. However, one tool that stands out is HitPaw Video Enhancer. This software uses advanced AI technology to effectively remove noise and grain from low-resolution videos. Download it today!







Home > Video Tips > How To Reduce Noise Adobe Premiere In 2023
Select the product rating:
Joshua Hill
Editor-in-Chief
I have been working as a freelancer for more than five years. It always impresses me when I find new things and the latest knowledge. I think life is boundless but I know no bounds.
View all ArticlesLeave a Comment
Create your review for HitPaw articles