Catalog
If you want to enhance a blurry photo, HitPaw Photo Enhancer is one of the best choices. All you need to do is several steps. Now, check the detailed steps below. Enhancing an image is a little different from batch processing. Let's take a look at how to upscale an image first.
1: Enhance A Image
-
Go to the official website page of HitPaw Photo Enhancer or click on the download button below to download the official package of HitPaw Photo Enhancer.
-
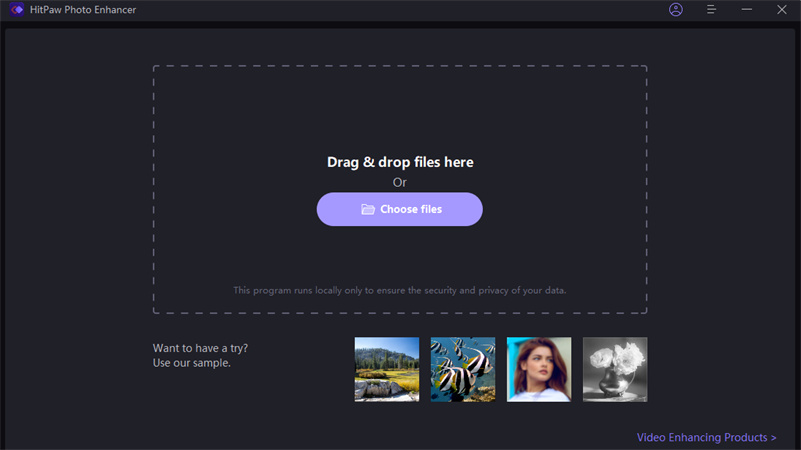
After installing the software, now you need to import the photo you want to upscale to the software. You can click the Choose File or just drag and drop the original photo to it. By the way, HitPaw Photo Enhancer supports commom input formats like PNG, JPEG, JPG, WEBP, TIFF, etc.

-
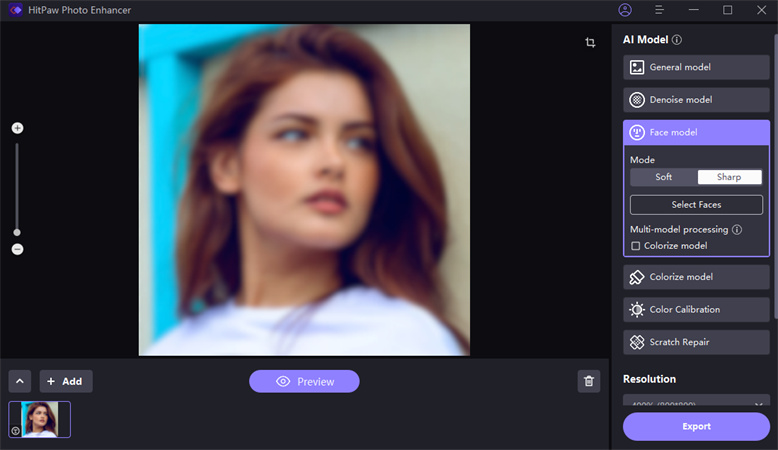
There are 6 AI models for you, i.e. general model, denoise model, face model, colorize model and color calibration.
General model is perfect for enhancing those pictures of real scene, such as landscape, building, animals and flowers, etc. Denoise model deals with high-ISO or low-light image, and enhance cartoon image as well.
Face model can greatly make our portrait image or old photos less blurry. Colorize model can be used to bring your black & white photos back to life, colorful and vivid.
Color calibration is best for photos that are underexposed or in lack saturation.

-
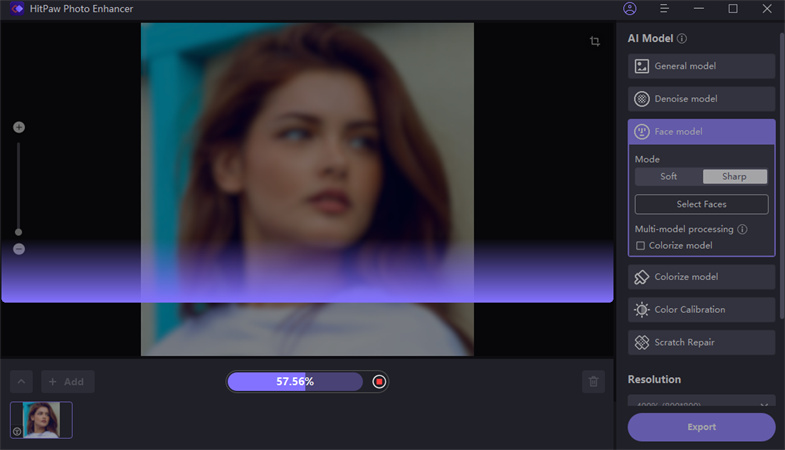
Once uploaded the photo, click the Preview button to process the photo, you may need to wait for a few seconds.

-
Preview the effect and click Export button to save the enhanced photo once you are satisfied with it.

Step 1: Download and Install
Step 2: Upload the Original Photo
Note: you can simply click on the sample provided by HitPaw to check the effect.
Step 3: Select An AI Model
Step 4: Preview the Effect
Note: if you are using the free version, you cannot export the enhanced photo. Please check the Buy Now button to purchase a full version so that you can save and use the photo processed with HitPaw Photo Enhancer.
2: Batch Enhance Images
-
Click on the Download button below to have HitPaw Photo Enhancer on your computer.
Click Choose Images to upload all files you want to enhance.
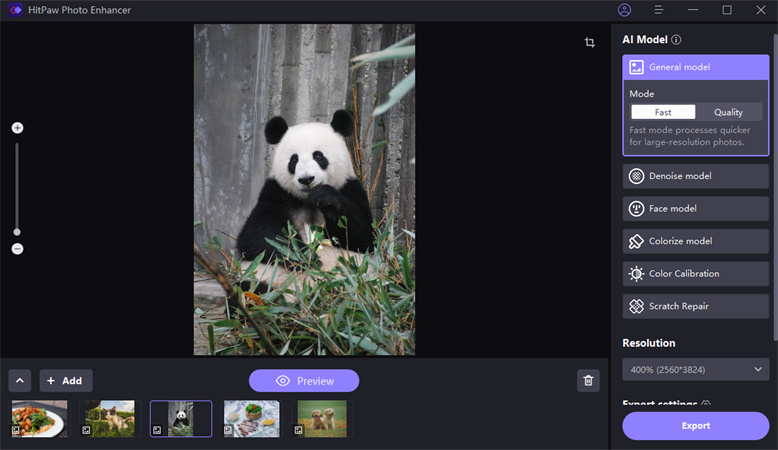
Choose one of the AI models according to your image type.
Click on Export button to choose a save path, and it will automatically start processing later.

Once finished, the enhanced images will be in the completed list. You can click the eye icon to preview the effect.

Step 1: Download and Install
Step 2: Upload All Images
Step 3: Select An AI Model
Note: we recommend batch processing of images of the same type so that you can choose the most appropriate AI model.
Step 4: Start Enhancing
Step 5: Preview the Effect
3: Multi-model Processing
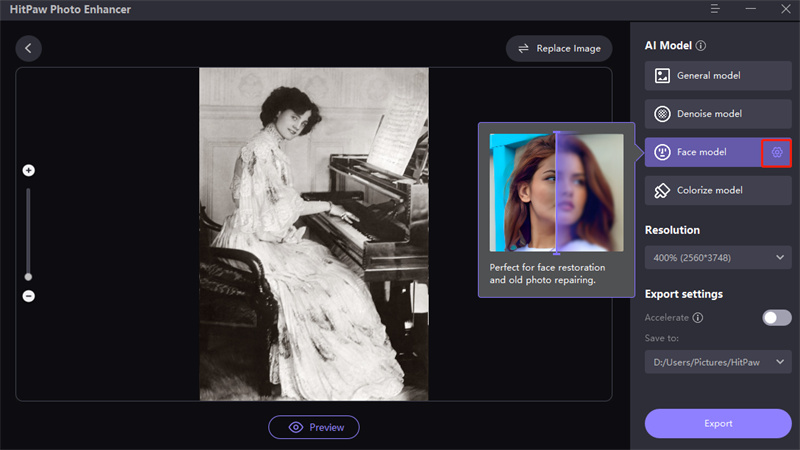
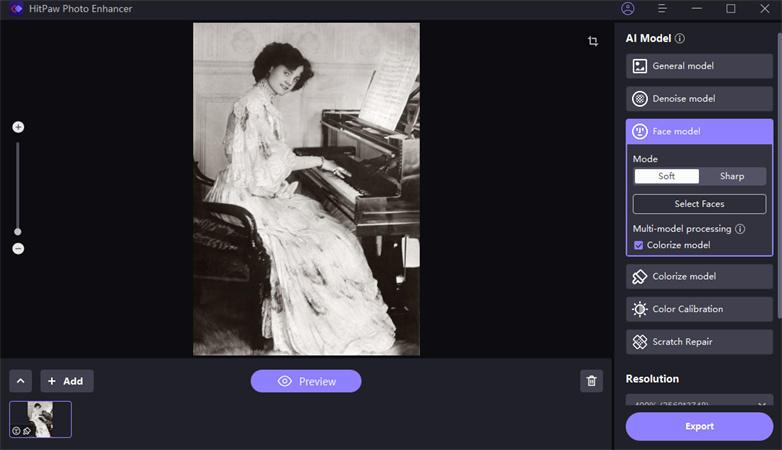
Select the face model after uploading your image.
Check the second model, and the image will be processed with both face model and colorize model. It’s very effective when enhancing the old portrait.
Click Preview to see the enhanced effect and export if you’re satisfied.

Step 1: Upload the Image and Select the First Model
Step 2: Select the Second Model
Step 3: Preview and export
4: Cusmotize Your Photo Size
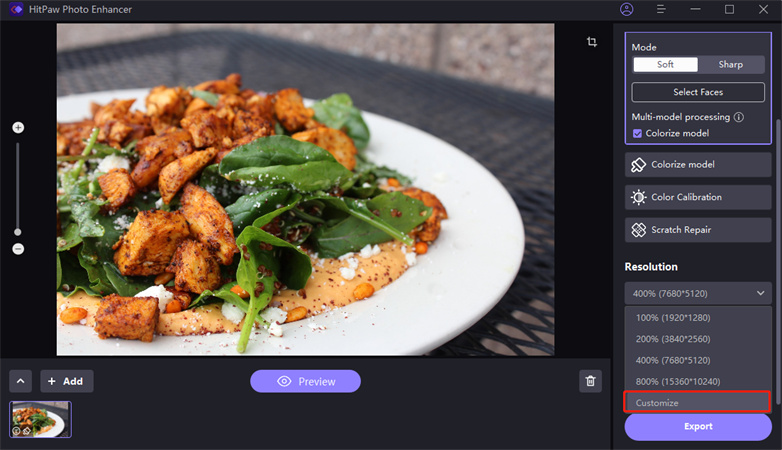
Click the drop-down menu of the resolution, you can the customize option.
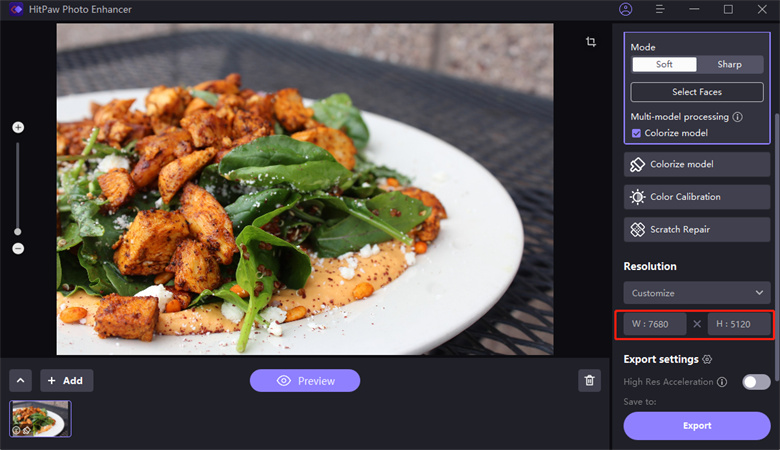
Here you can freely set you width or height. And once the width/height is set, the other one will be adjusted automatically according to the original ratio.
Step 1: Find Customize Option
Step 2: Set Your Wanted Width/Height of Your Photo
5: Preference
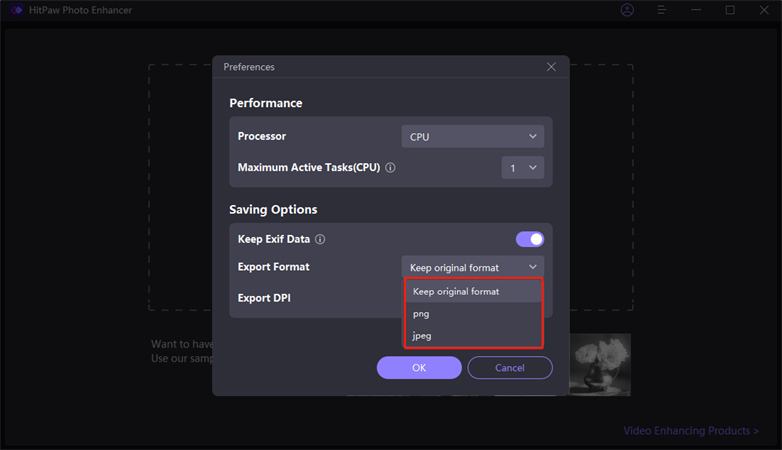
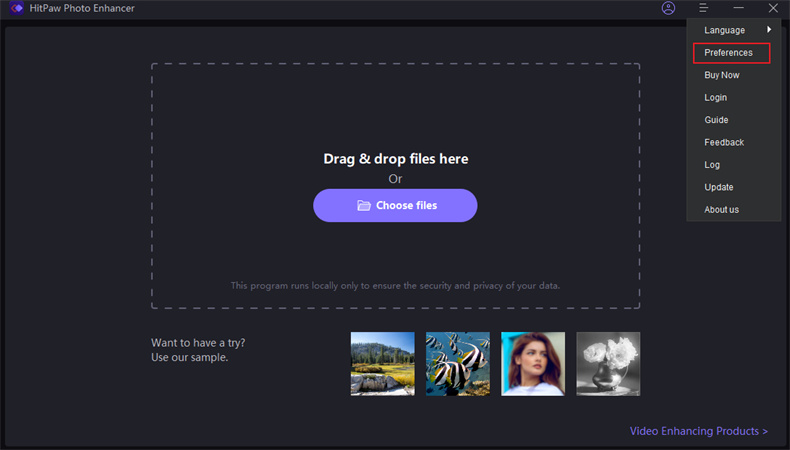
Click the preference, you can see your processor, set your multi task limit and choose whether to keep the photo's Exif data.
Set Your Multi Task Limit
Here you can set the AI processor as your CPU or GPU to run the software, which can adjust the computer resource as you want. And adjusting multi-task limit can help you to control whether your device is going to process faster or more balanced.
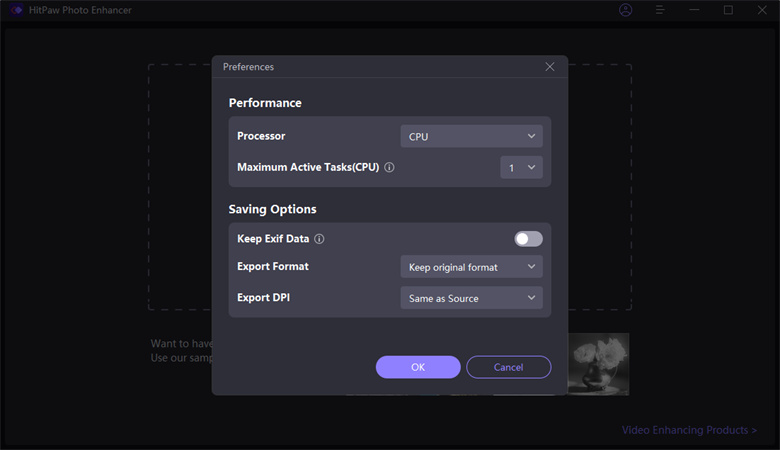
Click the drop-down menu to choose whether you use the CPU or GPU as the basic processor.
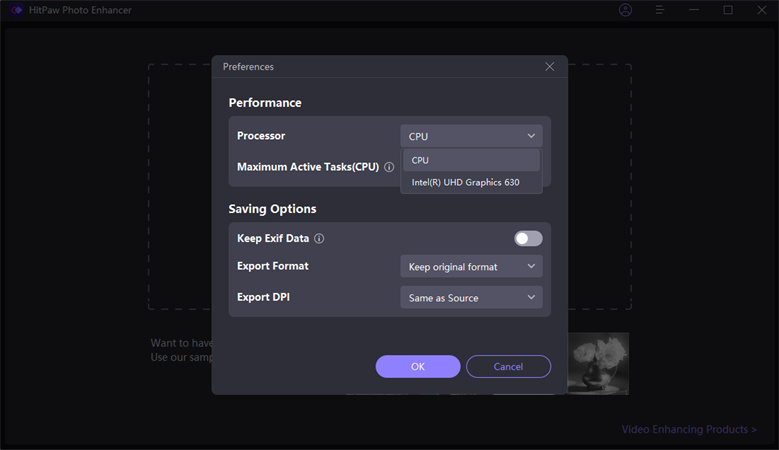
Multi-task means the maximum number of photos that can be processed simultaneously. The higher amount of multi-task limit can make your device put more computer resource on running the software. The maximum amount can be set to 10.
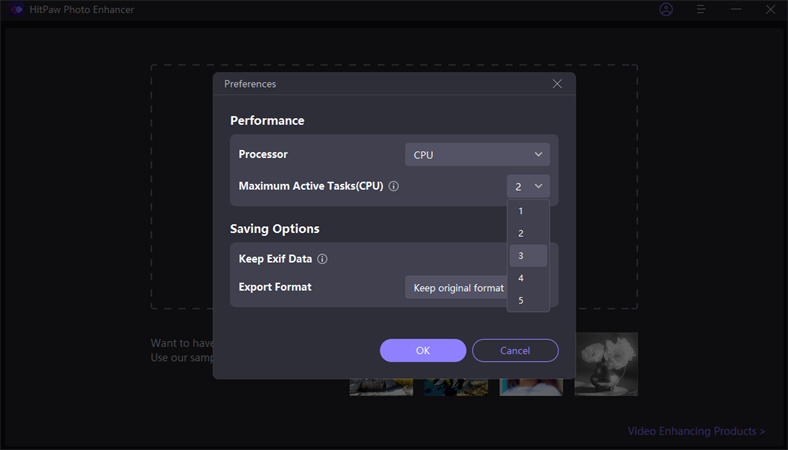
Keep or Remove Your Photo EXIF data
Exif information includes shooting time, location, ISO, camera and other information. You can keep or remove your photo Exif data by turning this function on or off.
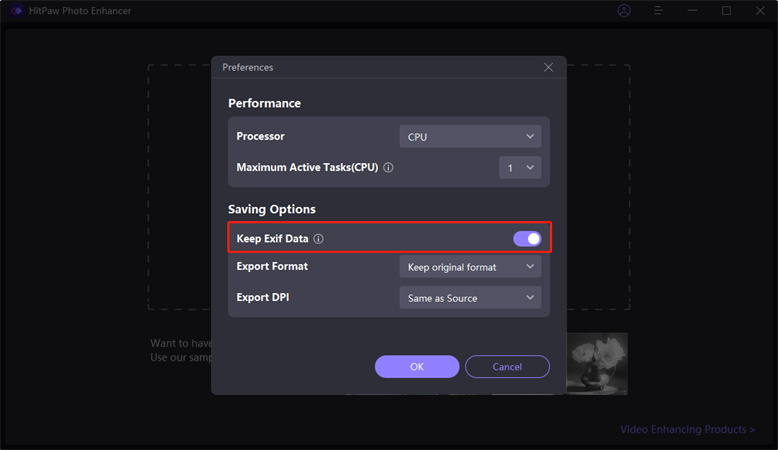
Select Your OutPut Format
HitPaw allows you to output several formats. In the Preference, you can choose to export as original format, PNG or JPEG.
