How to Record Lecture with HitPaw Screen Recorder
If you are looking for the best way to record lectures, HitPaw Screen Recorder is definitely the best choice for you. Want to learn how to record lecture with HitPaw Screen Recorder? Read this guide to find the detailed steps with pictures.
Step 1: Download and Install
Download HitPaw Screen Recorder first, install it on your computer and then launch the software.
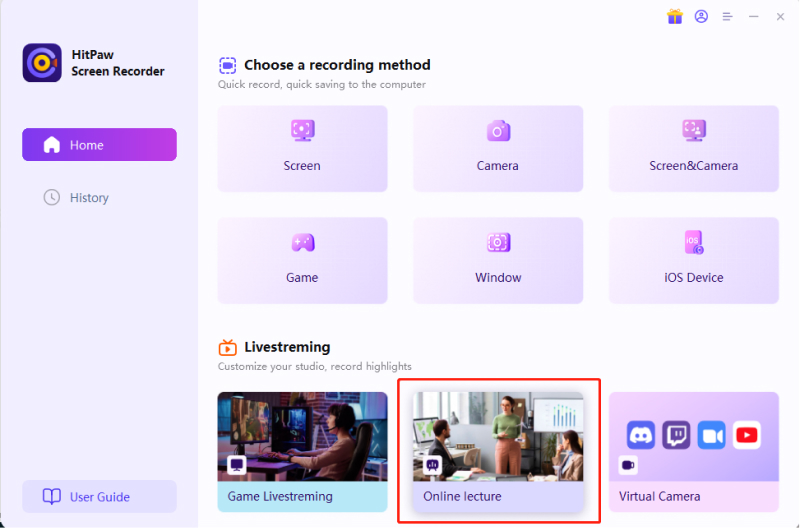
Step 2: Select the “Lecture”
Select the “lecture” from the main interface and you will go to the screen interface automatically.
Step 3: Ready to Record
-
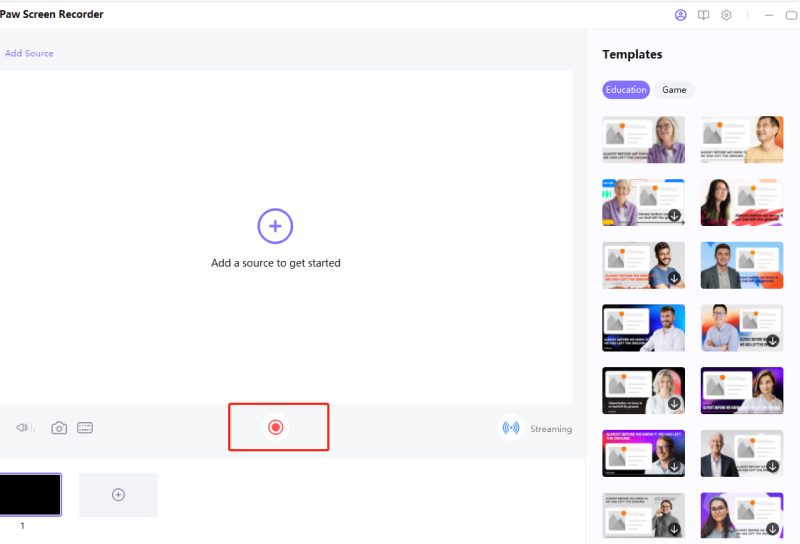
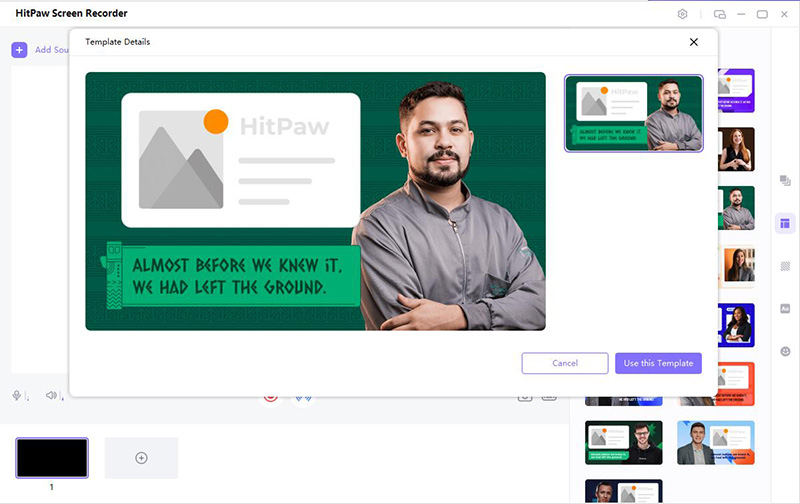
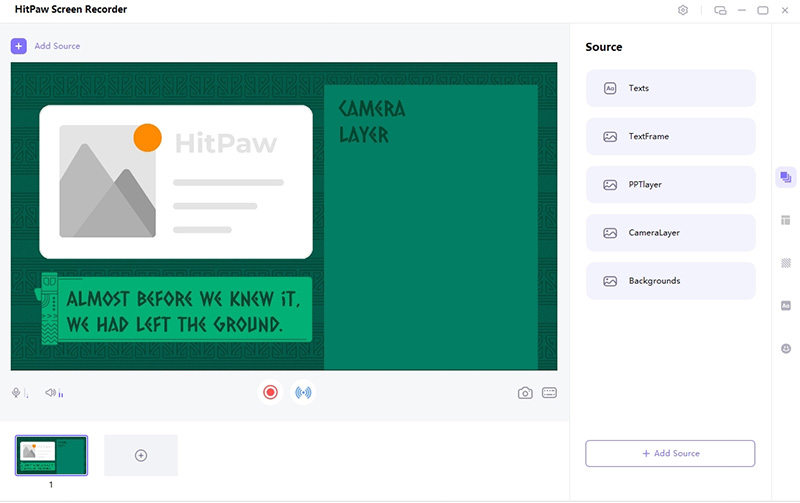
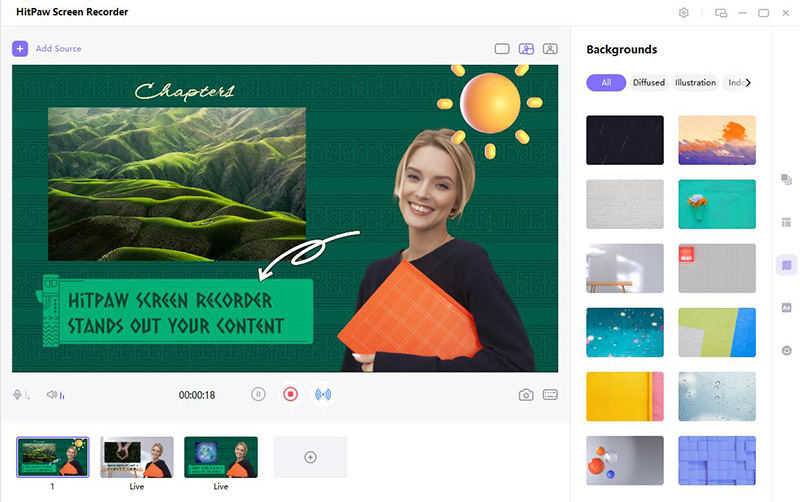
There are many wonderful templates here for you to use. You can choose to apply the templates to add interest and enhance the teaching effect. Just click the templates on the right side of screen and choose a template you like, then click Use this Template.
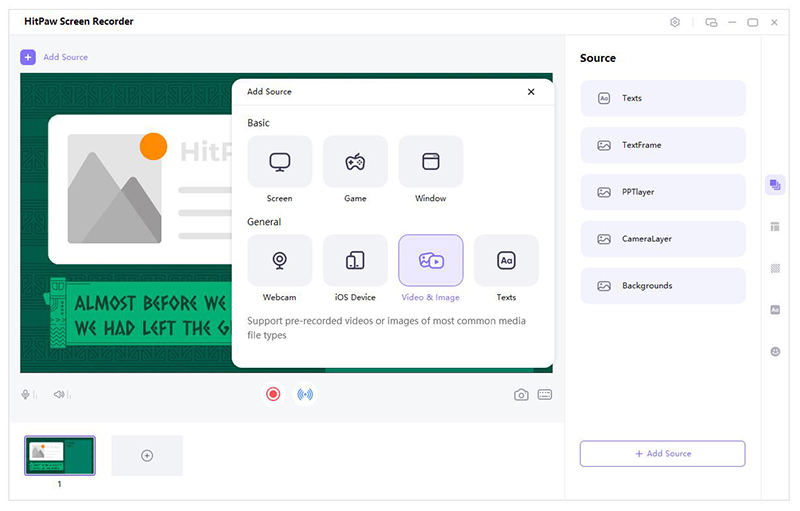
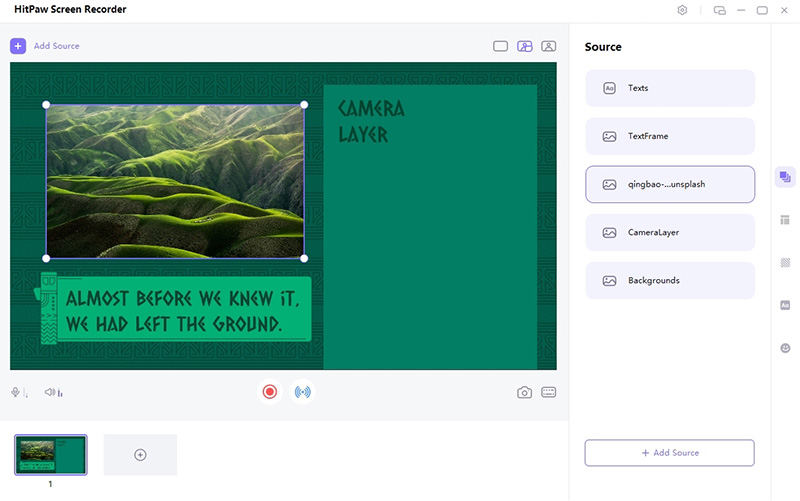
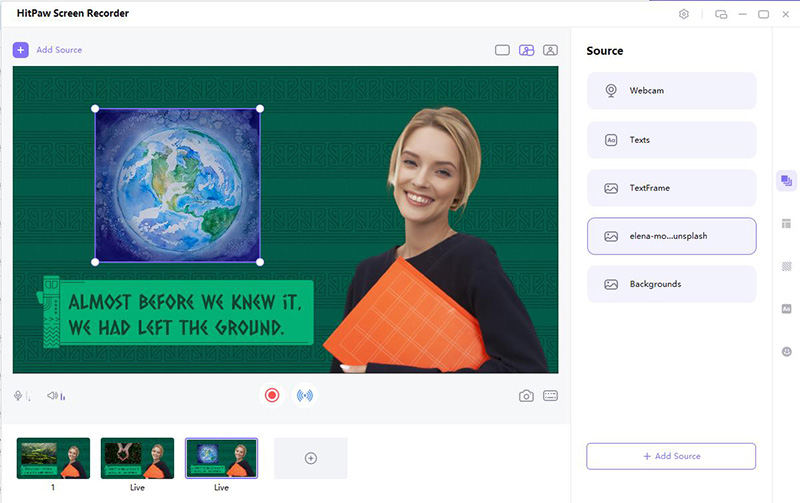
Next, you should add sources. You can add a PowerPoint window, screen, images and texts. Here, we take adding images for example firstly.
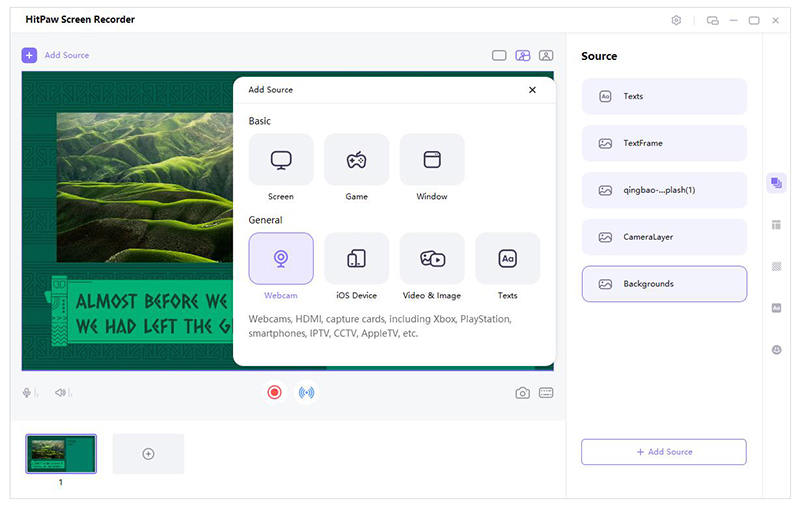
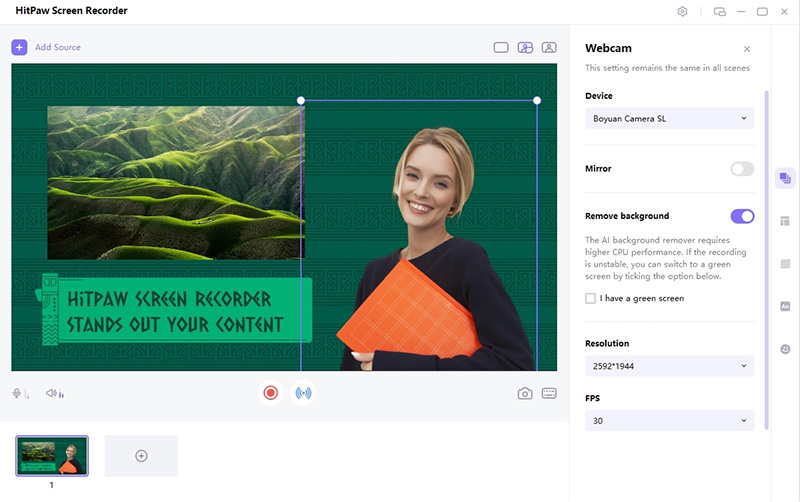
You also can add the webcam and move its placement around. Click Add Source and add the webcam.
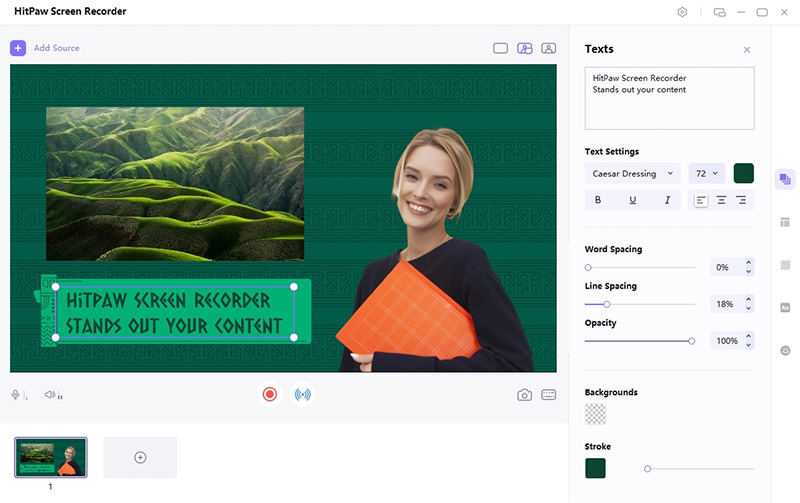
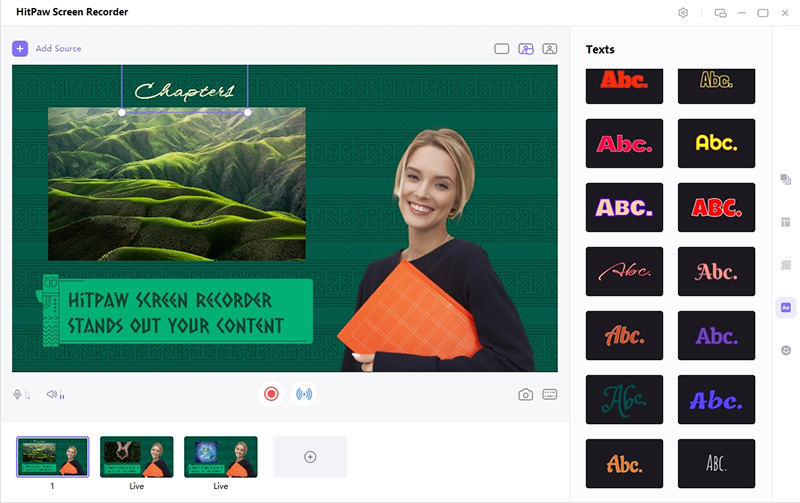
You can hit the text and type your words. There are some text settings for you. You can change the font style, size, color and other choices.
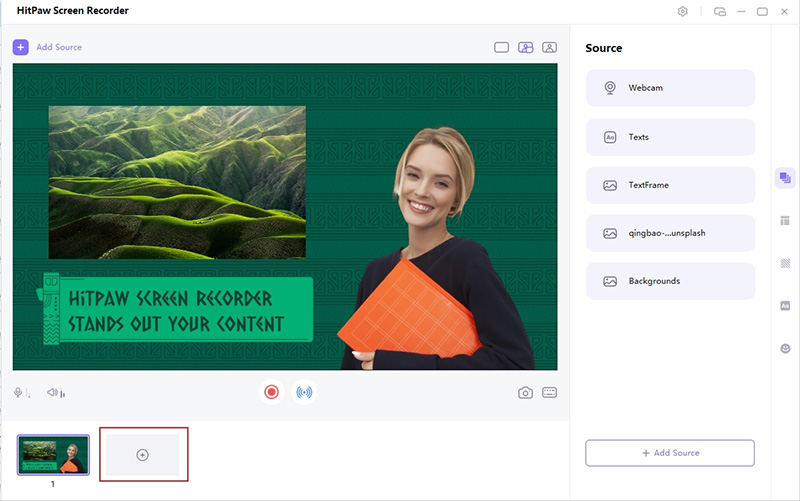
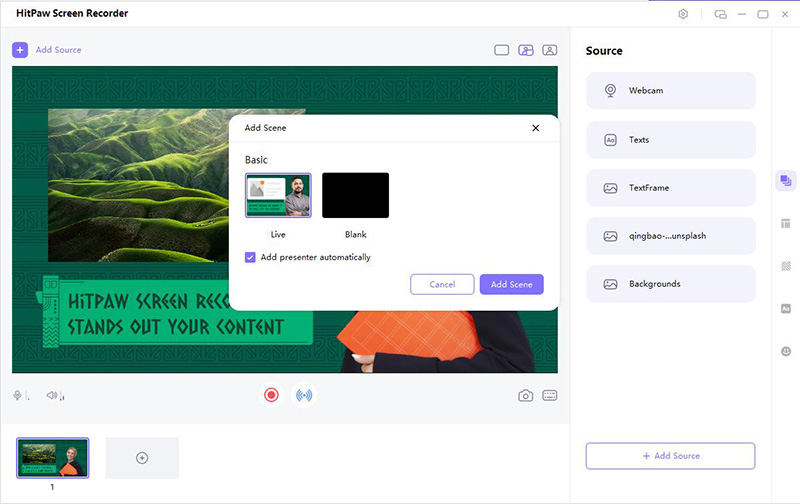
Then, you can add different and multiple pictures if needed when you recording the lecture. Just click the “+” button at the bottom of the screen and add pictures again. To recorder different images, you have to manually click to switch to the next image yourself.
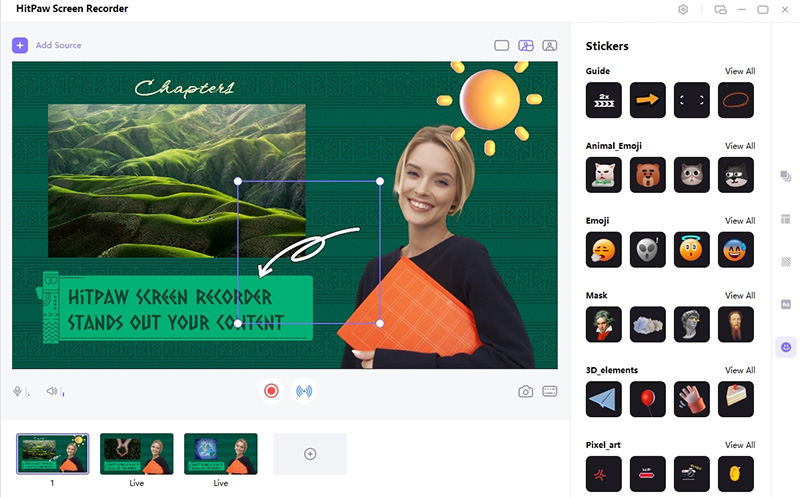
In order to make you lecture more interesting and vivid, you can add some texts and stickers. We provide many different styles of texts and stickers. Stickers are also very popular on the Internet nowadays, and we provide you a wide variety of stickers that you can use freely, including 3D_elements, Animal_Emoji, Bullet_journal, and so on. Just click the Stickers button on the right side of screen and add the sticker you like. You can also move its placement.
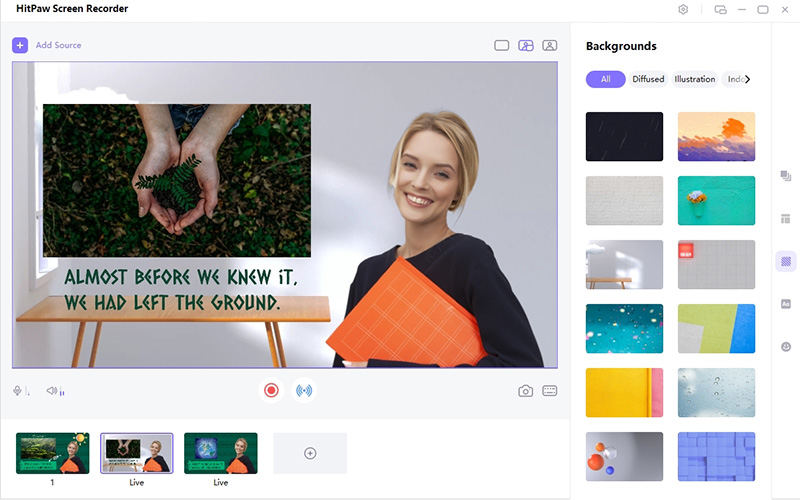
There are different styles of backgrounds for you to use, including indoor, outdoor, motion and so on.
Step 4: Start to Record
Click the Start button to record your lecture. During the recording process, you can click the pause button to pause to recording. If you want to finish the recording, just click on the stop button. The camera button at the right side is a quick way to get screenshot, you can have a try if needed.
Step 5: End Recording and Edit Video
Click the Stop button to end the recording, the software will give you a quick option to trim the recorded video. It's in the bottom right corner of the screen. You can click the play icon to preview and cut the video to the length you need.
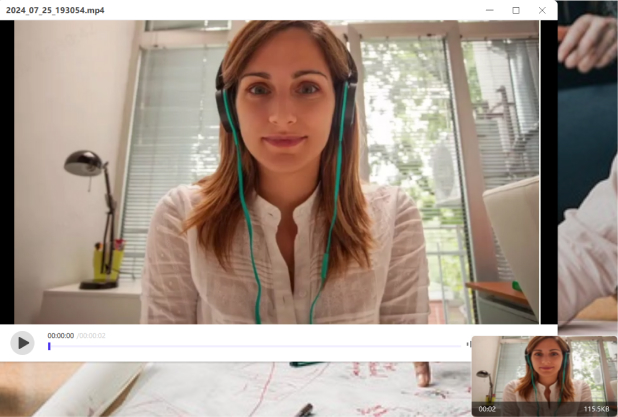
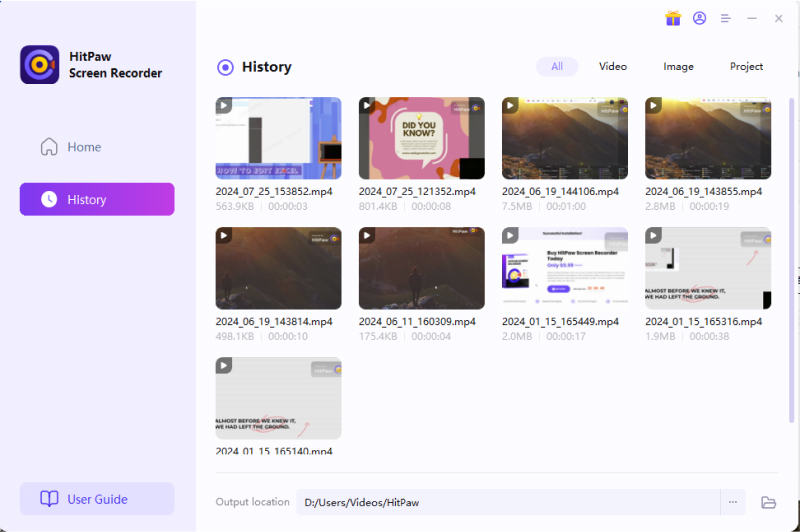
Or you can go to the home interface and click “History” to find your screen video.
